
How to build an MCP server that can interact with Monad Testnet

In this guide, you will learn how to build a Model Context Protocol (MCP) server that allows an MCP Client (Claude Desktop) to query Monad Testnet to check the MON balance of an account.

What is MCP?​

The Model Context Protocol (MCP) is a standard that allows AI models to interact with external tools and services.

Prerequisites​

  • Node.js (v16 or later)
  • npm or yarn
  • Claude Desktop

Getting started​

  1. Clone the monad-mcp-tutorial repository. This repository has some code that can help you get started quickly.
git clone https://github.com/monad-developers/monad-mcp-tutorial.git
  1. Install dependencies:
npm install

Building the MCP server​

Monad Testnet-related configuration is already added to index.ts in the src folder.

Define the server instance​

index.tssrc
1234567
// Create a new MCP server instance
const server = new McpServer({
name: "monad-mcp-tutorial",
version: "0.0.1",
// Array of supported tool names that clients can call
capabilities: ["get-mon-balance"]
});

Define the MON balance tool​

Below is the scaffold of the get-mon-balance tool:

index.tssrc
1234567891011121314
server.tool(
// Tool ID
"get-mon-balance",
// Description of what the tool does
"Get MON balance for an address on Monad testnet",
// Input schema
{
address: z.string().describe("Monad testnet address to check balance for"),
},
// Tool implementation
async ({ address }) => {
// code to check MON balance
}
);

Let's add the MON balance check implementation to the tool:

index.tssrc
1234567891011121314151617181920212223242526272829303132333435363738394041
server.tool(
// Tool ID
"get-mon-balance",
// Description of what the tool does
"Get MON balance for an address on Monad testnet",
// Input schema
{
address: z.string().describe("Monad testnet address to check balance for"),
},
// Tool implementation
async ({ address }) => {
try {
// Check MON balance for the input address
const balance = await publicClient.getBalance({
address: address as `0x${string}`,
});
// Return a human friendly message indicating the balance.
return {
content: [
{
type: "text",
text: `Balance for ${address}: ${formatUnits(balance, 18)} MON`,
},
],
};
} catch (error) {
// If the balance check process fails, return a graceful message back to the MCP client indicating a failure.
return {
content: [
{
type: "text",
text: `Failed to retrieve balance for address: ${address}. Error: ${
error instanceof Error ? error.message : String(error)
}`,
},
],
};
}
}
);

Initialize the transport and server from the main function​

index.tssrc
1234567
async function main() {
// Create a transport layer using standard input/output
const transport = new StdioServerTransport();
// Connect the server to the transport
await server.connect(transport);
}

Build the project​

npm run build

The server is now ready to use!

Add the MCP server to Claude Desktop​

  1. Open "Claude Desktop"

claude desktop

  1. Open Settings

Claude > Settings > Developer
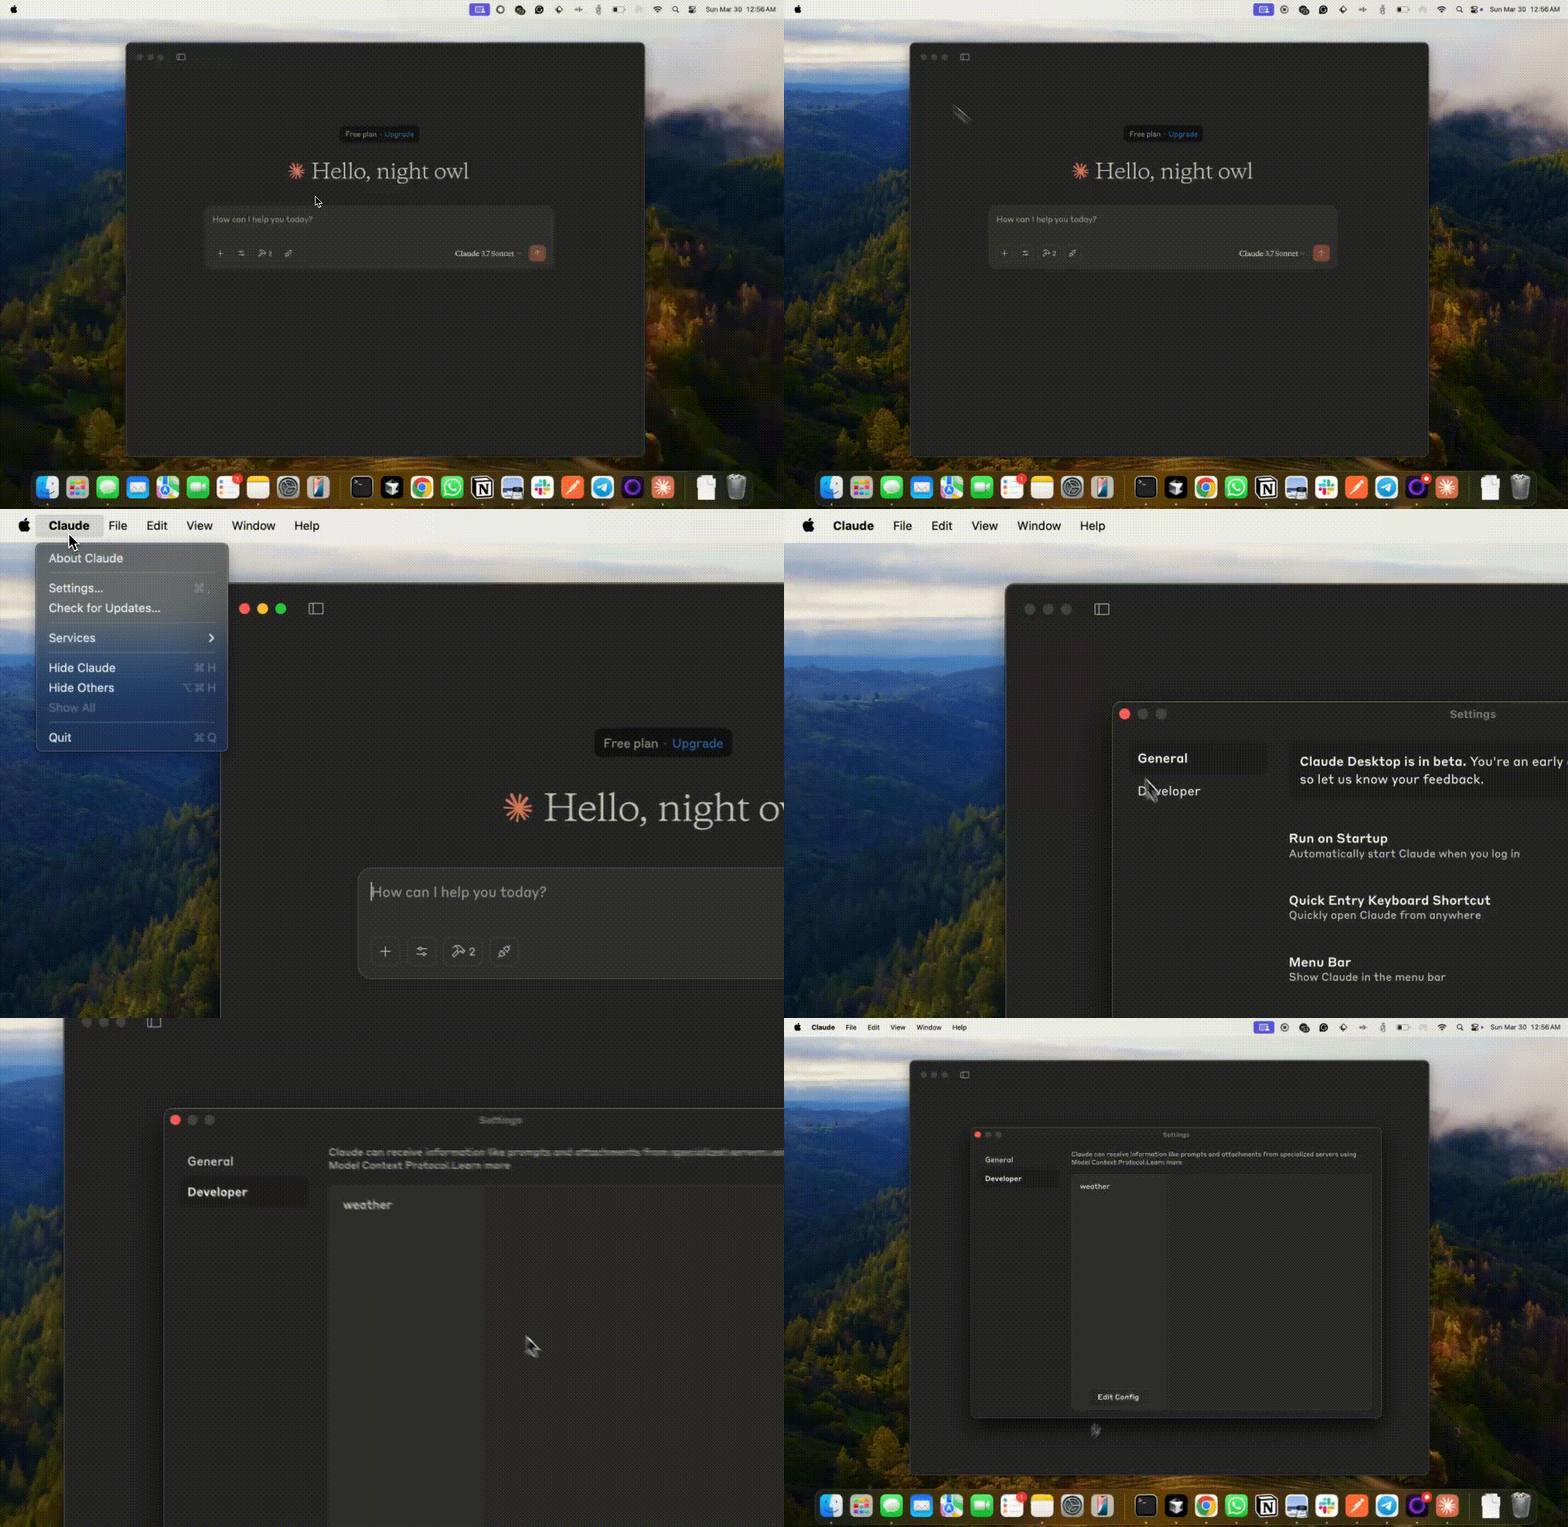
claude settings

  1. Open claude_desktop_config.json

claude config

  1. Add details about the MCP server and save the file.
claude_desktop_config.json
1234567891011
{
"mcpServers": {
...
"monad-mcp": {
"command": "node",
"args": [
"/<path-to-project>/build/index.js"
]
}
}
}
  1. Restart "Claude Desktop"

Use the MCP server​

You should now be able to see the tools in Claude!

tools

Here's the final result

final result

Further resources​